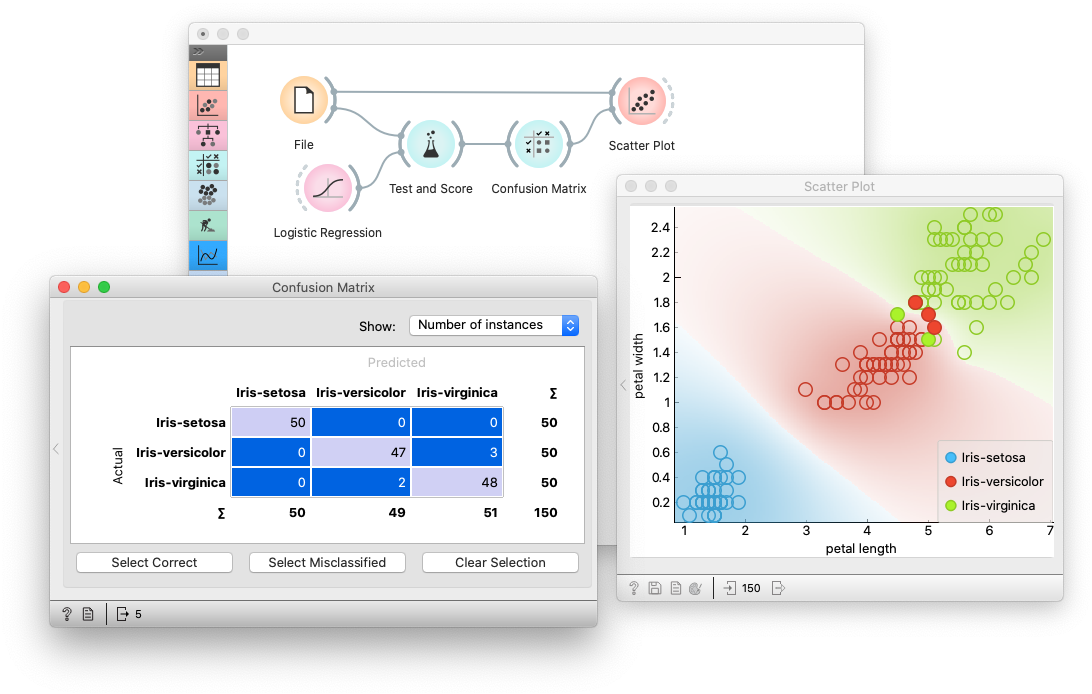
Orange is a data mining and visualization toolbox for novice and expert alike. To explore data with Orange, one requires no programming or in-depth mathematical knowledge. We believe that workflow-based data science tools democratize data science by hiding complex underlying mechanics and exposing intuitive concepts. Anyone who owns data, or is motivated to peek into data, should have the means to do so.
For easy installation, Download the latest released Orange version from our website. To install an add-on, head to Options -> Add-ons... in the menu bar.
First, install Miniconda for your OS.
Then, create a new conda environment, and install orange3:
# Add conda-forge to your channels for access to the latest release
conda config --add channels conda-forge

# Perhaps enforce strict conda-forge priority
conda config --set channel_priority strict

# Create and activate an environment for Orange
conda create python=3.10 --yes --name orange3
conda activate orange3

# Install Orange
conda install orange3
For installation of an add-on, use:
conda install orange3-<addon name>See specific add-on repositories for details.
We recommend using our standalone installer or conda, but Orange is also installable with pip. You will need a C/C++ compiler (on Windows we suggest using Microsoft Visual Studio Build Tools). Orange needs PyQt to run. Install either:
- PyQt5 and PyQtWebEngine:
pip install -r requirements-pyqt.txt - PyQt6 and PyQt6-WebEngine:
pip install PyQt6 PyQt6-WebEngine
To install Orange with winget, run:
winget install --id UniversityofLjubljana.Orange Ensure you've activated the correct virtual environment. If following the above conda instructions:
conda activate orange3Run orange-canvas or python3 -m Orange.canvas. Add --help for a list of program options.
Starting up for the first time may take a while.
Want to write a widget? Use the Orange3 example add-on template.
Want to get involved? Join us on Discord, introduce yourself in #general!
Take a look at our contributing guide and style guidelines.
Check out our widget development docs for a comprehensive guide on writing Orange widgets.
The development of core Orange is primarily split into three repositories:
biolab/orange-canvas-core implements the canvas,
biolab/orange-widget-base is a handy widget GUI library,
biolab/orange3 brings it all together and implements the base data mining toolbox.
Additionally, add-ons implement additional widgets for more specific use cases. Anyone can write an add-on. Some of our first-party add-ons:
- biolab/orange3-text
- biolab/orange3-bioinformatics
- biolab/orange3-timeseries
- biolab/orange3-single-cell
- biolab/orange3-imageanalytics
- biolab/orange3-educational
- biolab/orange3-geo
- biolab/orange3-associate
- biolab/orange3-network
- biolab/orange3-explain
First, fork the repository by pressing the fork button in the top-right corner of this page.
Set your GitHub username,
export MY_GITHUB_USERNAME=replacemecreate a conda environment, clone your fork, and install it:
conda create python=3.10 --yes --name orange3
conda activate orange3

git clone ssh://git@github.com/$MY_GITHUB_USERNAME/orange3

# Install PyQT and PyQtWebEngine. You can also use PyQt6
pip install -r orange3/requirements-pyqt.txt
pip install -e orange3
Now you're ready to work with git. See GitHub's guides on pull requests, forks if you're unfamiliar. If you're having trouble, get in touch on Discord.
Run Orange with python -m Orange.canvas (after activating the conda environment).
python -m Orange.canvas -l 2 --no-splash --no-welcome will skip the splash screen and welcome window, and output more debug info. Use -l 4 for more.
Add --clear-widget-settings to clear the widget settings before start.
To explore the dark side of the Orange, try --style=fusion:breeze-dark
Argument --help lists all available options.
To run tests, use unittest Orange.tests Orange.widgets.tests
Should you wish to contribute Orange's base components (the widget base and the canvas), you must also clone these two repositories from Github instead of installing them as dependencies of Orange3.
First, fork all the repositories to which you want to contribute.
Set your GitHub username,
export MY_GITHUB_USERNAME=replacemecreate a conda environment, clone your forks, and install them:
conda create python=3.10 --yes --name orange3
conda activate orange3

# Install PyQT and PyQtWebEngine. You can also use PyQt6
pip install -r requirements-pyqt.txt

git clone ssh://git@github.com/$MY_GITHUB_USERNAME/orange-widget-base
pip install -e orange-widget-base

git clone ssh://git@github.com/$MY_GITHUB_USERNAME/orange-canvas-core
pip install -e orange-canvas-core

git clone ssh://git@github.com/$MY_GITHUB_USERNAME/orange3
pip install -e orange3

# Repeat for any add-on repositories
It's crucial to install orange-base-widget and orange-canvas-core before orange3 to ensure that orange3 will use your local versions.


